Retaining Walls – 5 Steps
By definition, a retaining wall is a structure that is used for supporting the soil mass laterally, so that the soil on different sides of the wall is retained at different levels.
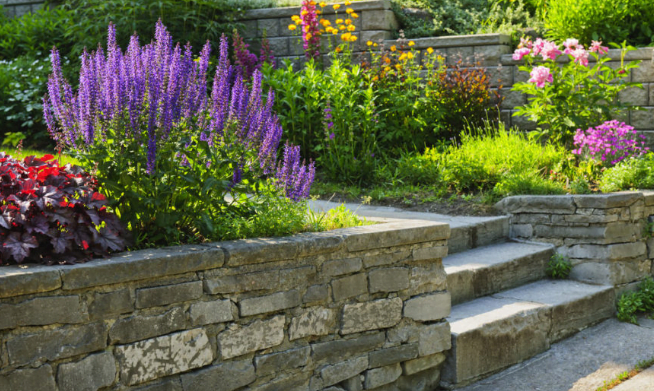
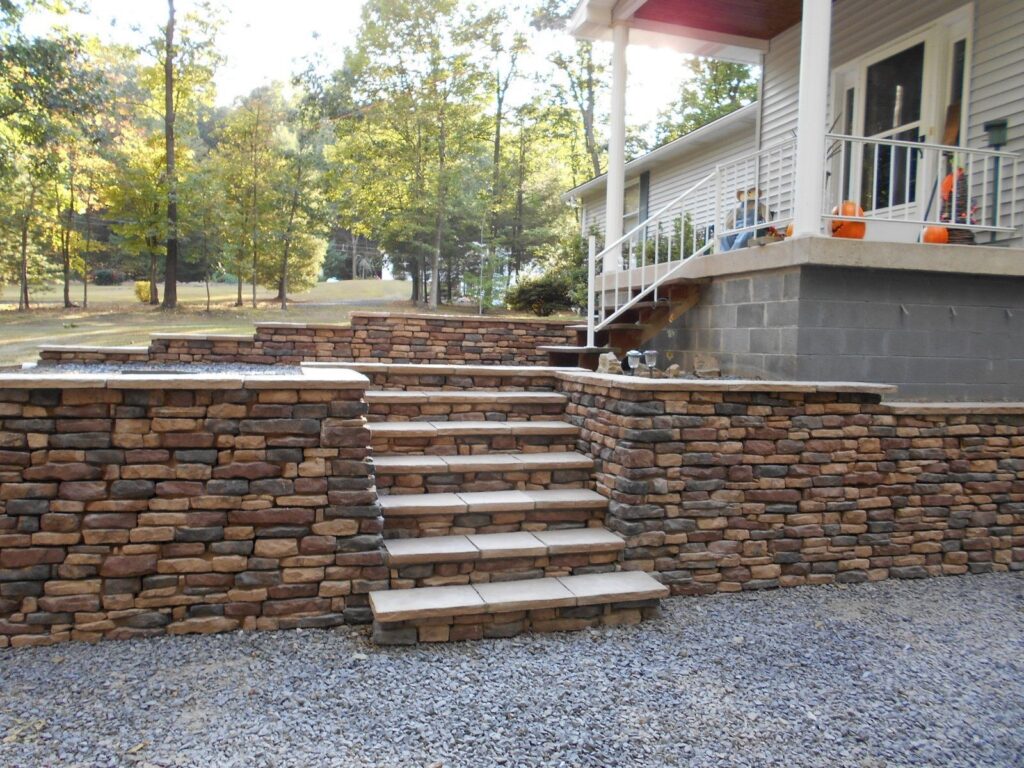
Retaining walls are used to bound two soils between two different terrain elevations in situations used in gardens and landscaping.
Simple Right? Of course, although it is easy to assume that a retaining wall is simply a wall that was built to hold a certain type of soil, NO… things are not as simple as they seem. Unlike normal walls that have lateral support at the top, retaining walls do not. Normal walls are built to bear vertical loads while retaining walls are built to hold horizontal loads.
However, in most gardening situations the vertical pressure is not that horrifying, so the ability of the wall to carry the bear of the load is mostly determined by the ability of the building material to deal with this situation.
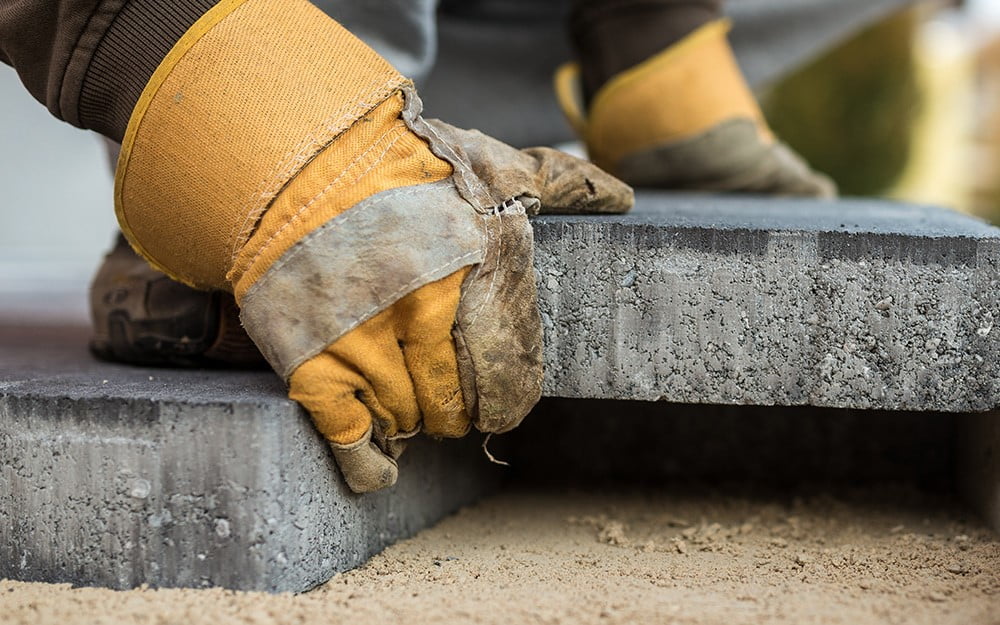
Actually, anyone with a strong back can stack up a bunch of heavy blocks and build a pretty looking stone retaining wall. But it takes skill and planning to properly construct an attractive wall that can also handle immense pressures, shrug off the forces of gravity, stand solid for decades and laugh in the face of Mother Nature.
Are you confused yet?
No worries that why there are professional landscaping companies like Landscape Pros in Manassas, VA. A family owned full-service landscape design company with over 30 yrs experience in providing Northern Virginia and the surrounding area with expert landscape design and landscaping services. Designing and building retaining walls is our specialty. The work to build a proper wall is not easy and really a skilled art many times requiring just like a brick layer.
Solid Retaining Walls built to last is the kind of retaining walls our design team at Landscape Pros build and we recommended to leave this hard work to the Pros. Hire A Skilled Retaining Wall “Pro”. Get the Job Done Right and don’t hire just anyone. Give us a call @ 571.535.8622 and our experts are available to discuss all your retaining wall needs, draft the design, and professionally build and install your retaining wall.
Here are a few retaining wall designs you may like. For the DIY doers… here are 5 quick steps to build a simple retaining wall on your own.

5 Step Retaining Wall:
What is the easiest retaining wall to build? It depends.
Retaining walls are relatively inexpensive, they can be difficult to repair and remove. For the average do-it-yourselfer, building a retaining wall is easiest when using masonry blocks that are stacked no taller than three feet, with no mortar binding the block stones or concrete block.
Does the retaining wall need drainage behind it?
Although there are some exceptions, but most retaining walls require gravel backfill, soil compaction, pipe or toe drains, and weep holes. Together, these four features will provide adequate drainage for most designs. Only a few types of walls will not require all of them.
What kind of stone do you put behind a retaining wall?
The “Pros” at Landscape Pros recommend 3/4” Crushed Gravel. Do NOT use pea gravel. Thoroughly compact and level the gravel to create your leveling pad.
How deep should the footing be for a retaining wall?
The general rule of thumb is to bury about one-eighth of the height of the wall. For example, if your wall will be three feet (36 inches) tall, the first course of blocks should start five inches below soil level. The gravel base should start three inches below this.
Dig the Trench

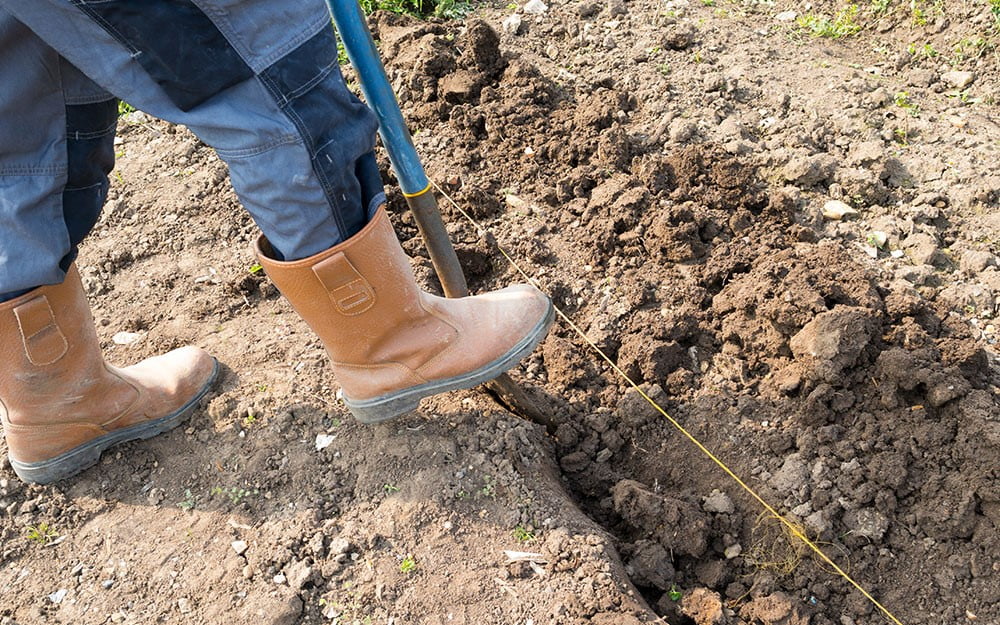
The success of your retaining wall depends on a level base. To create a solid foundation, dig a trench for the first course of your interlocking retaining wall blocks to sit in, and make sure the ground remains even throughout.
- Using a tape measure, decide the length and the width of your retaining wall, then mark off the area with the garden stakes and string.
- Begin digging into the ground with a shovel.
- Depending on the size of your blocks, your trench should be 4 to 6 inches deep (below ground level) and have a width that’s twice the width of one block lying vertically.
- Once your trench is complete, compact it with a hand tamper or vibrating plate compactor.
Tip: Stay safe by wearing your goggles and work clothes, along with protective clothing and boots, while you install your retaining wall.

Create a Building Base
Due to soil erosion, your retaining wall should be built on a solid foundation made from a paver base. Similar to gravel, paver base is a form of construction aggregate material that contains crushed rocks such as limestone.
- Choose a paver base with landscape rocks between 1/2-inch and 3/4-inch in size.
- Fill the trench with a 2 to 3-inch layer of paver base.
- Use the rack or template to ensure the stones are evenly distributed.
- Tamp the paver base with a tamper to make sure your foundation is evenly compacted.

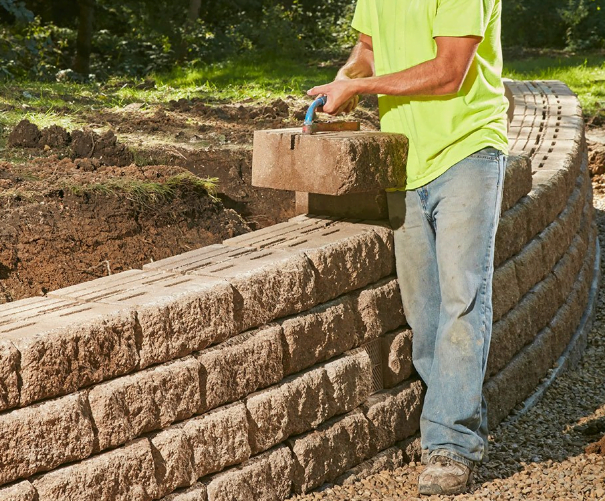
Lay the First Course of Blocks
Start laying your interlocking retaining blocks on the sturdy building base you just created.
- Position your first block and use a standard level to make sure blocks are even. If needed, reposition them using additional paver base and use a rubber mallet to tap block into place.
- Continue laying your first course of blocks, making sure to check that every block is level.
- After you finish the first course, fill the space between your retaining wall and landscape with gravel.
- Tamper the gravel to increase the wall’s stability and durability against soil erosion.

Build the Additional Block Courses
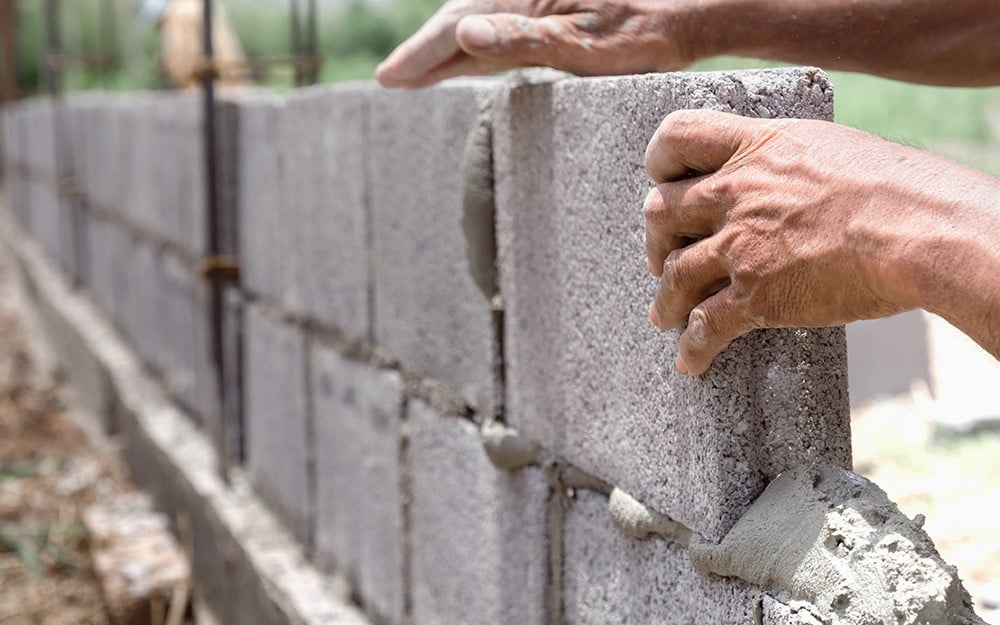
By installing a level first course, you have successfully laid the groundwork for more block courses. Here is how you lay the next levels of interlocking wall blocks.
- Before starting the second course, cut an interlocking block in half using a circular saw, as the first and second levels of blocks must be staggered. Always wear protective goggles, gloves, a dust mask, and construction-grade earplugs during this step.
- Brush off the first course of blocks with a broom to remove all debris.
- Lay the second course of blocks the same way as the first and finish the course with the other half of your cut block. Since the blocks are interlocking, you do not need any adhesive during this process.
- If you wish to lay more than two courses, you only need to cut a block in half for the even-numbered courses. If you follow this rule it will ensure your blocks are properly staggered.
- After completing each course, do not forget to fill the space between your retaining wall and landscape with gravel, and then properly tamper the gravel down.
- After finishing all block courses, brush off the retaining wall blocks to clear away all debris.
Tip: If you don’t own an appropriate saw for cutting the blocks, you can rent one from your local Home Depot Tool Rental Center.

Finishing the Retaining Wall

The Last step is to lay down a layer of block caps to complete your retaining wall and add the finishing touch to the overall aesthetic wall.
- First, Brush off the previous course to clean off any debris.
- Using construction adhesive, secure all the block caps and finalize creating the top layer of your retaining wall. The block caps should overhang the retaining blocks by 1 to 1-1/2 inches.
- Last, Cover the gravel between your retaining wall and landscape with topsoil or sod, so your garden will grow against your wall, achieving a professional natural look. Complete the look with landscape fabric, if desired.
Tip: If your retaining blocks and block caps are not dry, the adhesive glue will not hold properly.